
How to Use Kimi K3 Today — No Waitlist Required
Every Kimi membership tier is on a waitlist right now — free, paid, enterprise, all of it. Just a "join the waitlist" button and an uncertain wait.
You don't have to wait. You can run Kimi K3 in the official Kimi Code CLI today, with no Kimi membership, through a Corion AI API key and one command — and every new Corion account includes a free welcome credit, so your first session costs nothing.
Here's the setup, start to finish.
What you need
- A terminal (macOS, Linux, or Windows with PowerShell)
- A Corion AI account — free to create, no credit card required for the welcome credit
- Five minutes
Step 1 — Install Kimi Code CLI
Kimi Code CLI is Moonshot's official terminal coding agent. It's open to anyone to install — no membership needed for the tool itself, only for Moonshot's own hosted models.
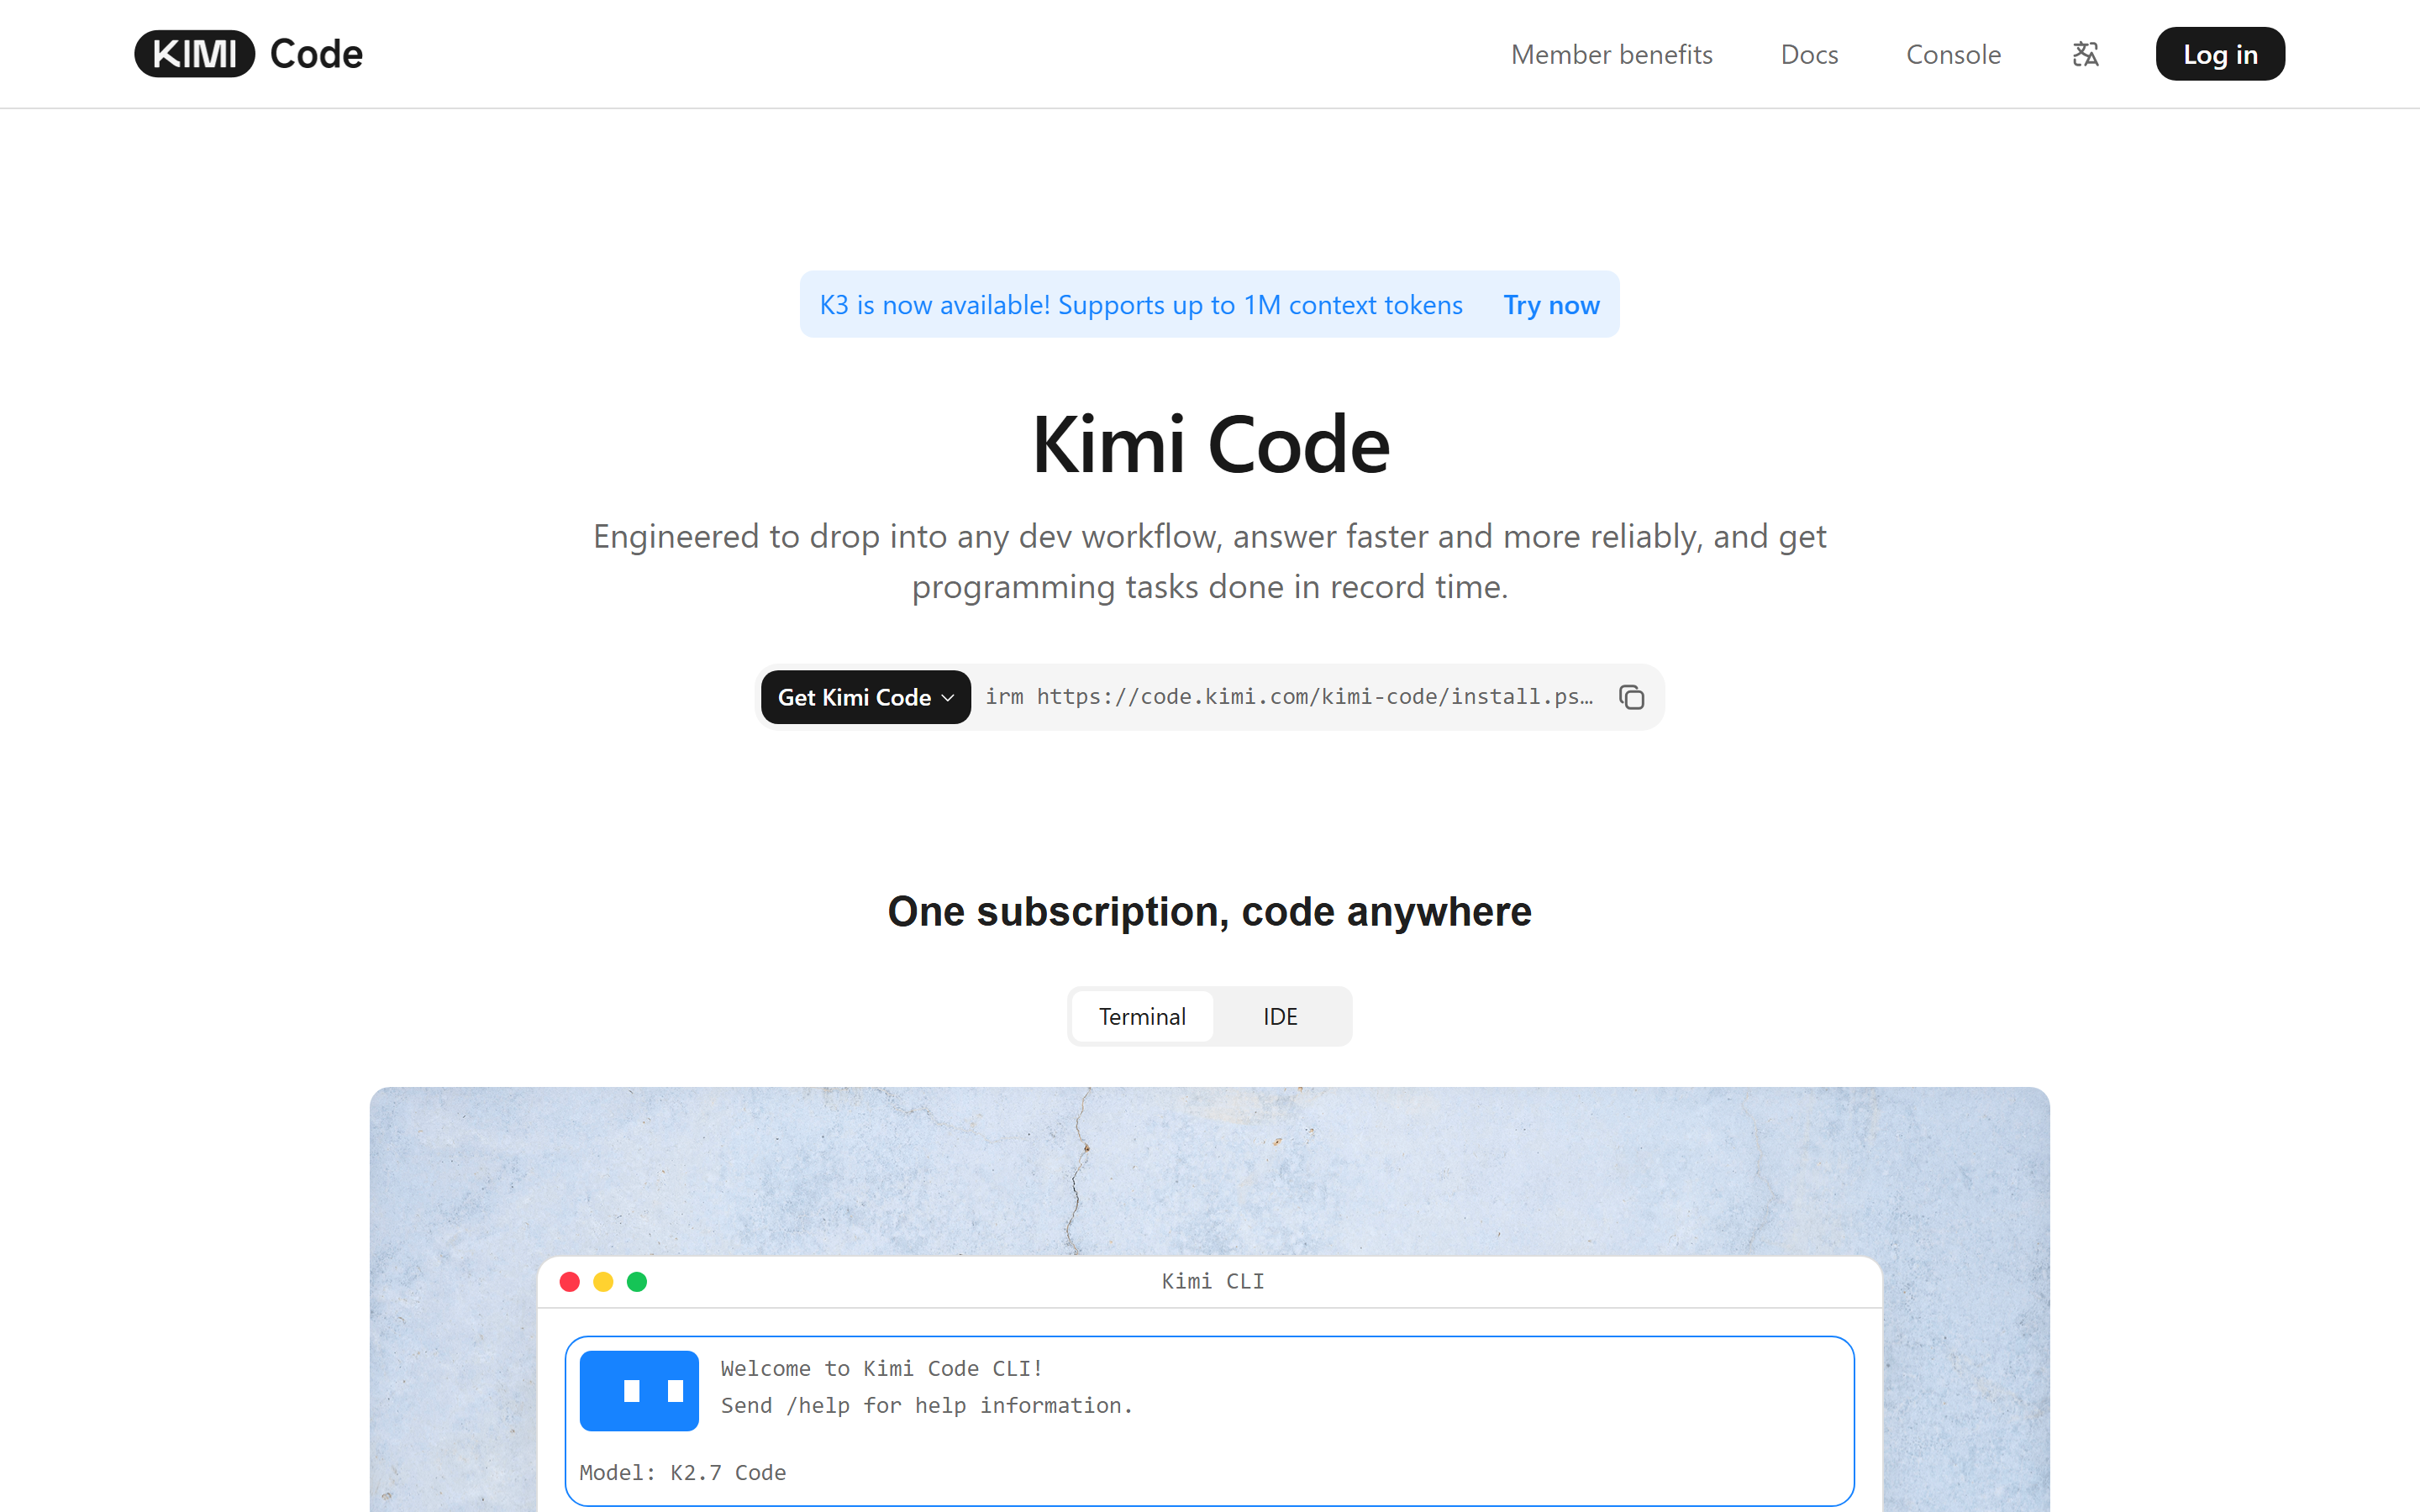
On macOS or Linux:
curl -fsSL https://code.kimi.com/kimi-code/install.sh | bash
On Windows (PowerShell):
irm https://code.kimi.com/kimi-code/install.ps1 | iex
On Windows, install Git for Windows first — the CLI uses the bundled Git Bash as its shell environment.
If you prefer npm (requires Node.js 22.19.0+):
npm install -g @moonshot-ai/kimi-code
Verify the install:
kimi --version
Don't bother with /login — that flow is for Moonshot's own waitlisted membership. We're going to point the CLI at a different provider instead, which is the entire point of this post.
Step 2 — Create a Corion AI account and API key
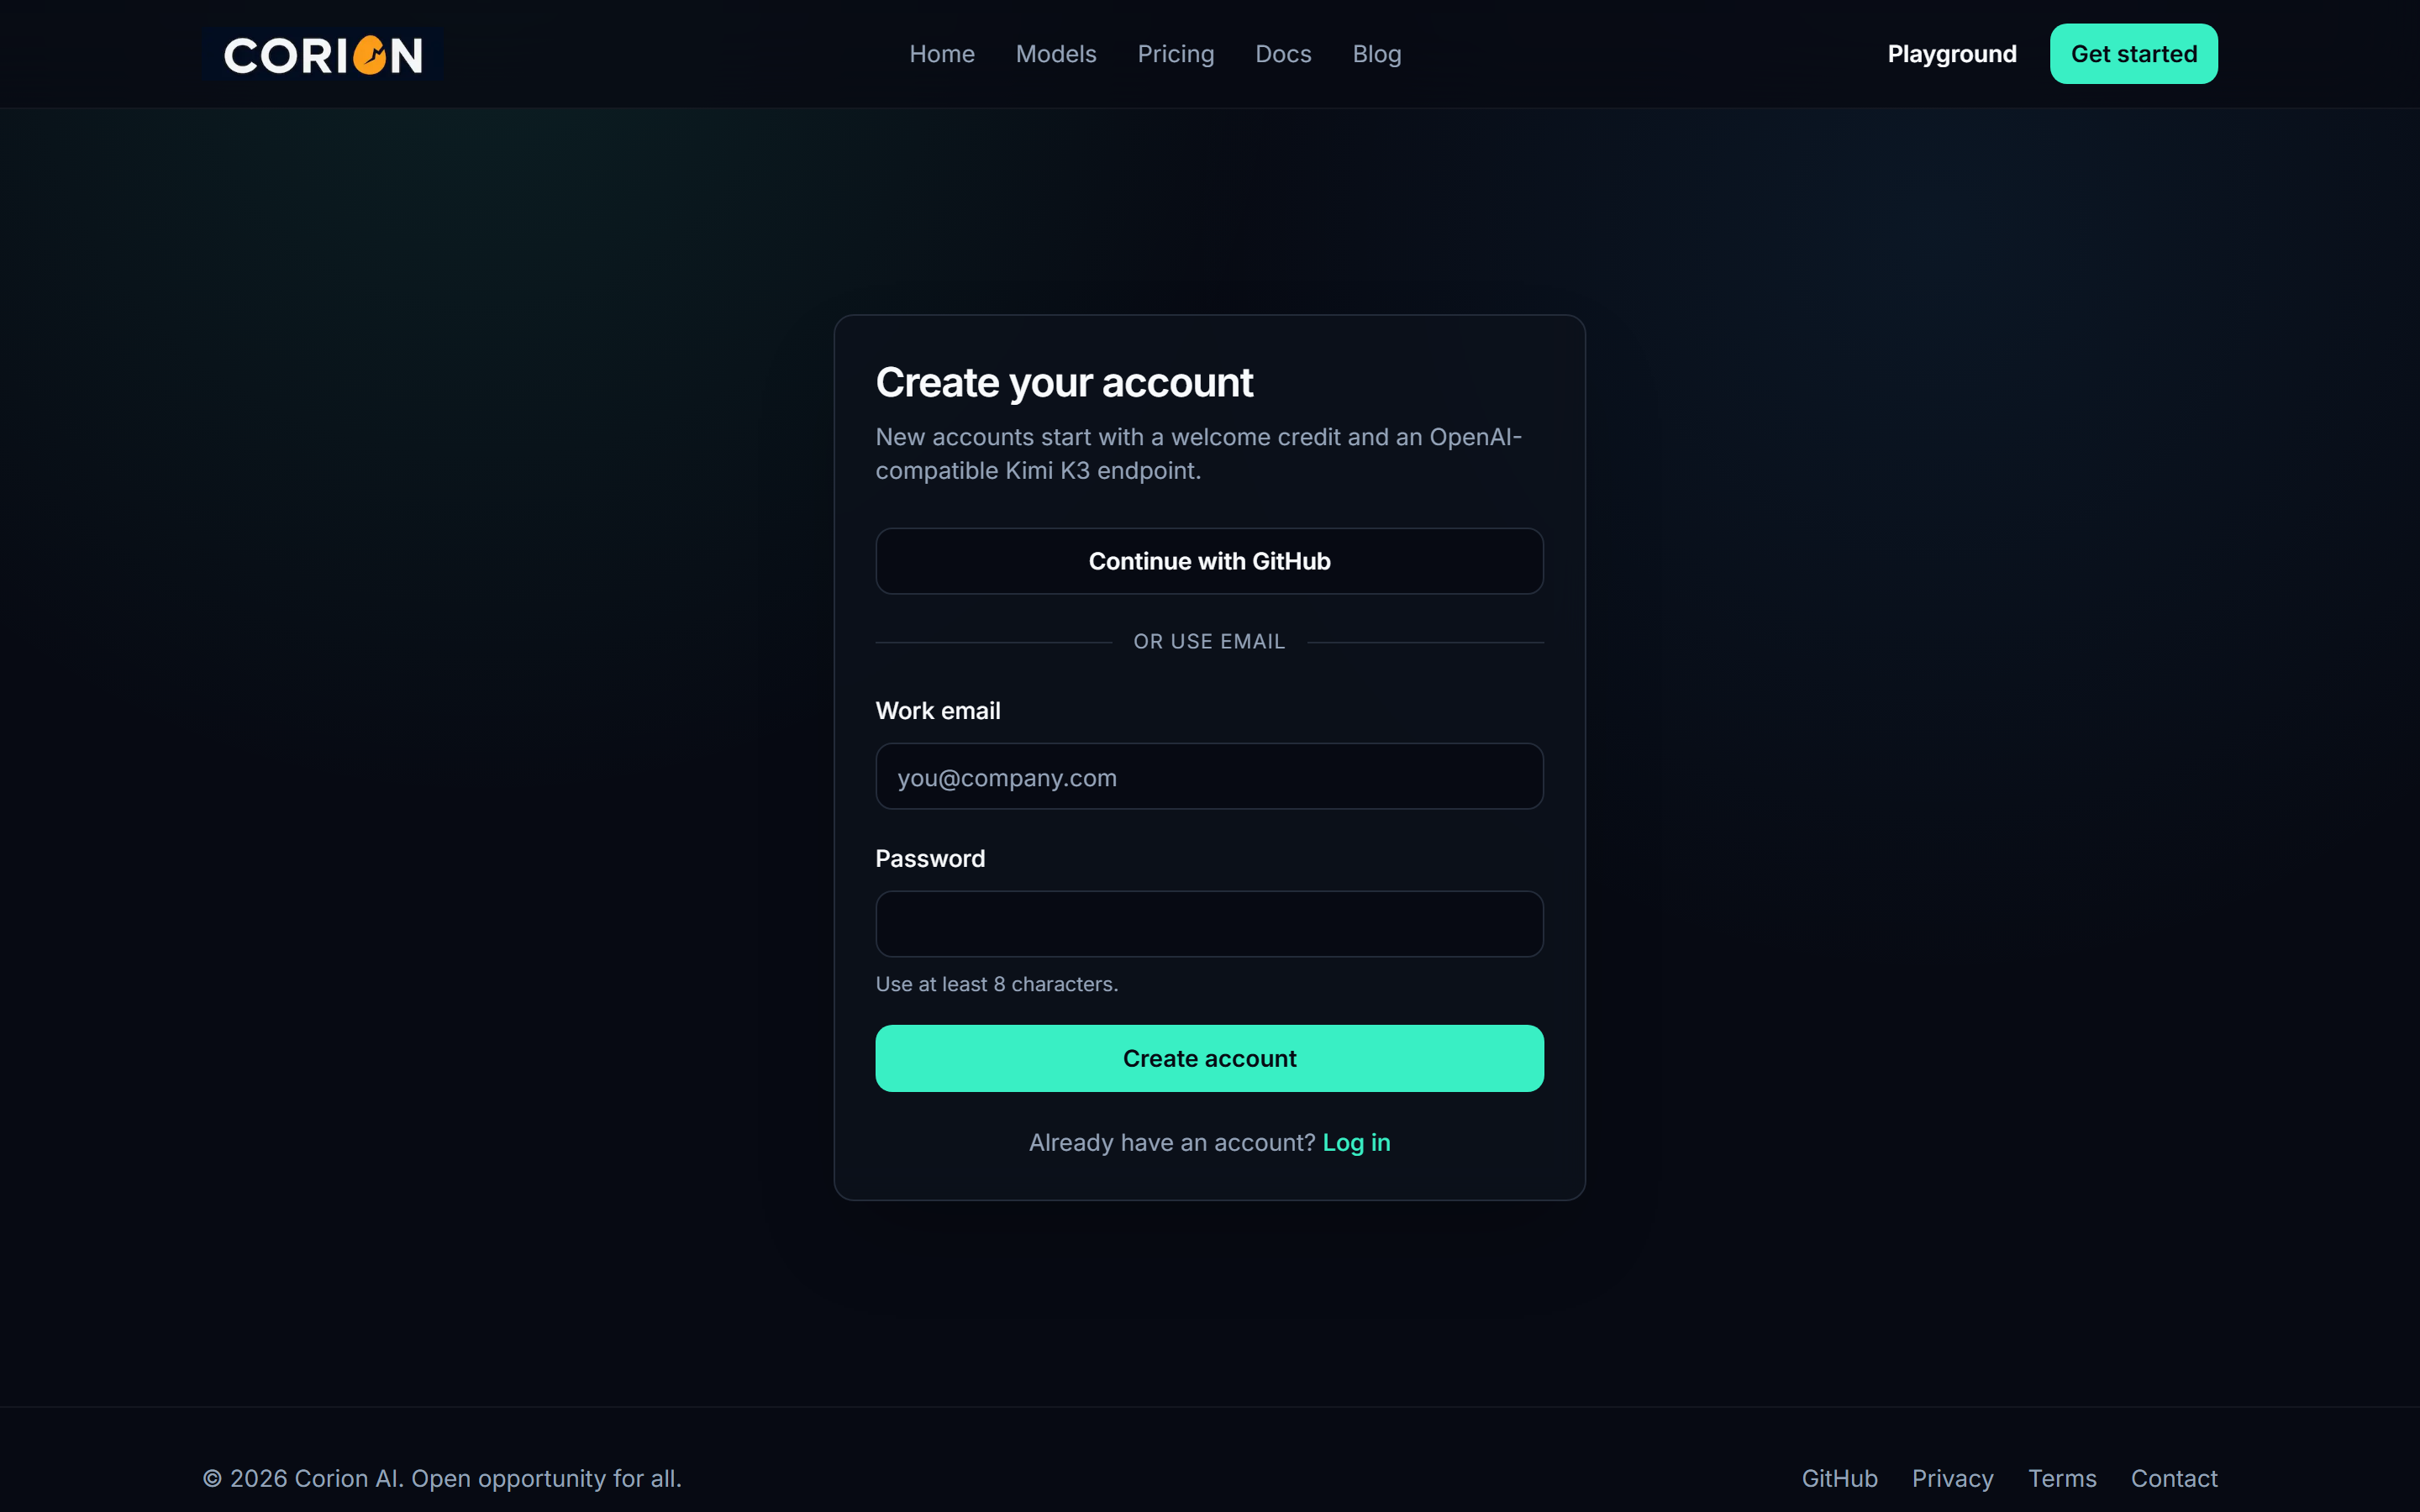
- Sign up at Corion AI and confirm your email if prompted. Every new account starts with a welcome credit, so you can try K3 without paying anything.
- Open Dashboard → Billing if you want to add more credits. Corion is prepaid: credit packs fund usage, there is no subscription.
- Open Dashboard → API keys, name a key, and click Create key. Copy the full key immediately — it's only shown once.
Kimi K3 on Corion is billed at $2.50 per million input tokens and $12.50 per million output tokens (cached reads at $0.25/M), deducted from your balance. See the pricing page for the full rate card.
Step 3 — Point Kimi Code CLI at Corion (one command)
This is where it gets elegant. Kimi Code CLI can import an entire provider — endpoints, model list, context limits, pricing metadata — from a single public registry URL. Corion serves exactly such a registry, so setup is literally one line:
kimi provider add https://corion.ai/kimi-registry/api.json --api-key YOUR_KEY
Replace YOUR_KEY with the API key from step 2. The command creates a corion provider and imports every model Corion offers — kimi-k3 (1M context) and deepseek-v4-flash-0731 — as select-ready aliases. Because the registry stays linked, new models and price updates refresh automatically on later launches; you never touch the config again.
Sanity-check that your key sees the models:
curl https://api.corion.ai/v1/models -H "Authorization: Bearer YOUR_KEY"
You should see kimi-k3 in the response.
Step 4 — Run Kimi K3
Pick the model for a single launch:
kimi -m corion/kimi-k3
Or start kimi and switch models interactively with the /model command.
A good first task is read-only — "summarize this repository" — so you can confirm the model responds and tool calls behave before letting it edit files. Then use it like you would any coding agent: refactors, feature work, test generation, repo exploration. The full 1M-token context window is available, which makes it particularly good at whole-codebase questions.
Prefer a UI? Use /web or kimi web
If terminals aren't your thing, you can launch the Kimi Code web UI in two ways:
- From inside the TUI, type
/web - Or from your terminal (PowerShell, CMD, or Bash), run
kimi web
Both open your current session in the Kimi Code web UI in your browser — you can connect to a running server or spin one up on the spot. Same K3 model, same session, graphical interface.
If something goes wrong
- 401 Unauthorized — the key is wrong or truncated. Keys are shown once at creation; generate a fresh one in Dashboard → API keys if in doubt.
- Model not listed — re-run
kimi provider add, or force a clean import withkimi provider remove corionand add it again. - Balance exhausted — the CLI will start failing requests; top up under Dashboard → Billing.
The full provider docs live at Using Corion AI with Kimi Code, and the general API walkthrough is in the quickstart.
The bottom line
The Kimi membership waitlist gates Moonshot's first-party hosting — not the model, and not the CLI. With a Corion AI API key and one kimi provider add command, you're running Kimi K3 today with pay-as-you-go pricing and no subscription. Get your key and skip the line.